
Starting a Timeline
After building out a magnificent and well-crafted timeline, you will want to apply it to its intended node (i.e. Franchisee, Facility, Customer, etc.).
Where to Start…
Depending on your choice of company/node type (i.e. “Timeline can be assigned to this type of company”), when initially building out the timeline, this is where we will start our timeline.
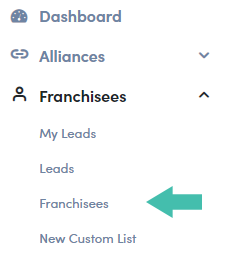
Our timeline was built for franchisees, so this is where we want to start. Expand the “Franchisees” menu and click on Franchisees.
Need a Refresher
Take a look back at “Step 1” in either the Creating a ‘Sequential’ Timeline or Creating a ‘Parallel’ Timeline articles.
Step 1: Selecting a Franchisee
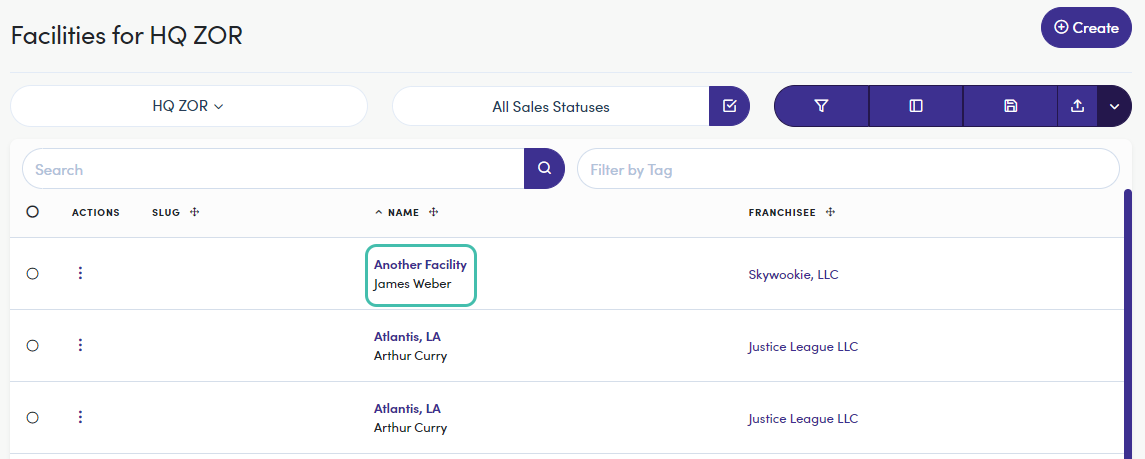
You should now have a list of options. Find and select the Franchisee that the timeline is for. We are applying this to our facility named “Another Facility”.
Step 2: Starting Your Timeline
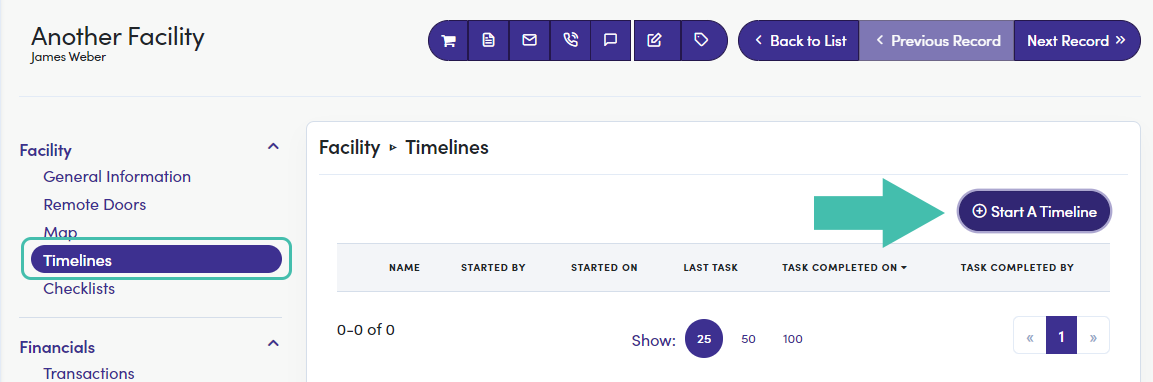
Now that we are into a Facility's profile, click on Timelines (under the “Facility” menu on the left). You should now see a button to Start a Timeline, click this button to see a list of the available timelines to start.
Step 3: Selecting a Timeline to Start
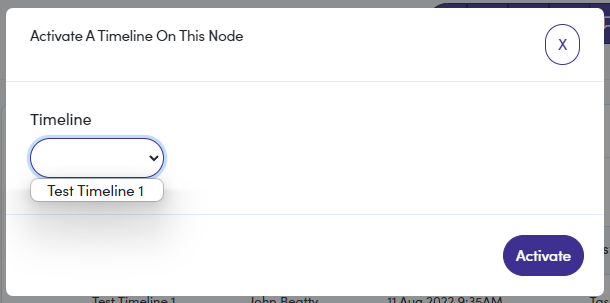
You should now see the “Activate a Timeline on This Node” modal, use the dropdown to select a Timeline and click Activate.
CONGRATULATIONS!
You now know how to start a timeline within a specific company/node.